iPad 2 Private Browsing Session
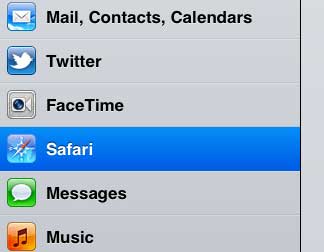
The difference between a regular browsing session and a private browsing session on your iPad 2 is the data that the Safari browser will store. In a regular browsing session you are accumulating a history of the pages that you visit, form data that you fill in, as well as any cookie or password data that you encounter or enter along the way. However, private browsing sessions begin and end without storing any of this data on your device. To learn how to start a private browsing session on your iPad 2, follow the steps below. Step 1: Navigate to the iPad screen containing your Settings icon. Step 2: Tap the Settings icon to open the menu. Step 3: Touch the Safari option at the left side of the screen.
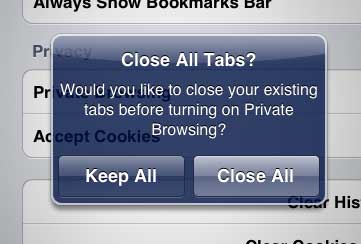
Step 4: Tap the button to the right of Private Browsing. If you have currently open tabs in a Safari browsing session, you will be prompted to either Keep All or Close All.
Step 5: After you have chosen how you want Safari to handle your current browsing session, the button to the right of Private Browsing will now say On.
Your iPad’s Safari browser will remain in private browsing until you return to this screen and disable the setting. When you come back to disable private browsing, you will once again be asked how you want Safari to handle your currently open browser tabs. After receiving his Bachelor’s and Master’s degrees in Computer Science he spent several years working in IT management for small businesses. However, he now works full time writing content online and creating websites. His main writing topics include iPhones, Microsoft Office, Google Apps, Android, and Photoshop, but he has also written about many other tech topics as well. Read his full bio here.
You may opt out at any time. Read our Privacy Policy