One solution is to hide that text within the document. This formats the selection so that it is not visible on the computer screen, but can quickly be unhidden and restored to its’ original location later, if you so choose. Our tutorial below will show you how to hide a selection in your Word 2013 document.
Hiding Text in Word 2013
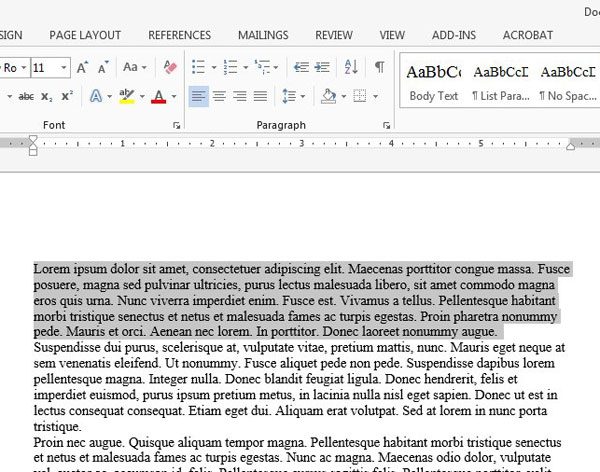
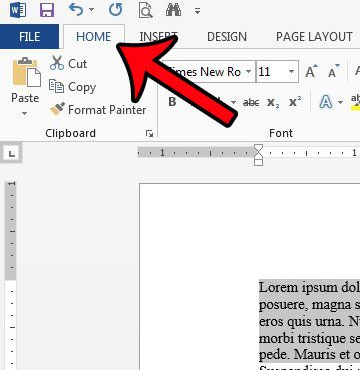
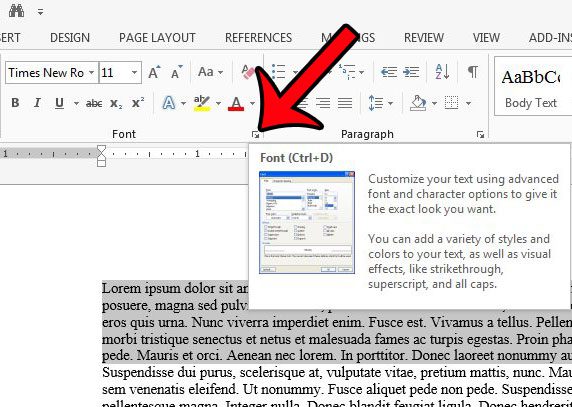
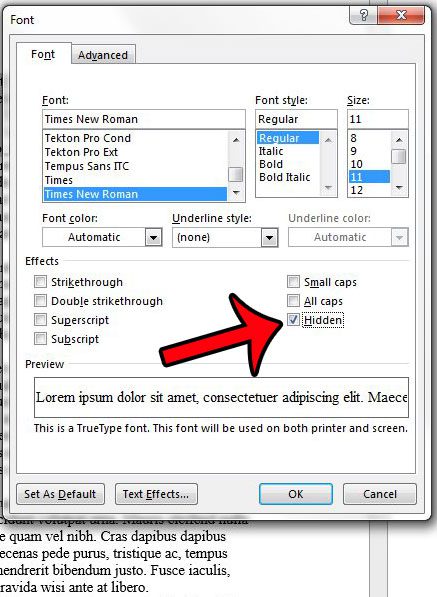
The steps in this article will show you how to hide a selection of text from your document in Microsoft Word 2013. This means that it will not be visible, but it will still be accessible to someone that knows how to look for it. If you are concerned about people making changes to your document, then you might want to consider using password protection.
If you wish to unhide text, then you can select the part of the document where that text is located, then follow the steps above again and clear the check mark to the left of the Hidden option. Would you like for the hidden text in your document to be printed whenever you go to print it? Or, alternatively, is your hidden text printing when you don’t want it to? Learn how to adjust the print setting for hidden text in Microsoft Word 2013 to control how the application handles the text that you have hidden. After receiving his Bachelor’s and Master’s degrees in Computer Science he spent several years working in IT management for small businesses. However, he now works full time writing content online and creating websites. His main writing topics include iPhones, Microsoft Office, Google Apps, Android, and Photoshop, but he has also written about many other tech topics as well. Read his full bio here.
You may opt out at any time. Read our Privacy Policy