Whether the gridlines aren’t visible or you have columns or rows that are printing on their own pages, there are a lot of things you might need to change. One tool that can help your printing setup involves adding manual page breaks to the spreadsheet. Our tutorial below will show you how to insert a page break in Excel 2013 so that you can control where Excel starts printing the next page of the document.
How to Put a Page Break in a Microsoft Excel Spreadsheet
Our guide continues below with additional information on how to insert a page break in Excel 2013, including pictures of these steps. If you need to print a spreadsheet from Excel 2013, then you are likely familiar with how difficult they can be to format. This becomes more problematic as the spreadsheet gets larger and you need to modify it so that it prints properly. One big issue is that related information can often be split between multiple pages, which can make the printed document difficult to read. One way to resolve this issue is to manually add page breaks that force certain information to a new page. Using page breaks can be an effective way to customize the way that your spreadsheet prints without dramatically modifying the contents of your spreadsheet. If you also use the Google office applications, then you may want to check out our guide on how to insert a page break in Google Docs as well.
Adding a Page Break in Excel 2013 (Guide with Pictures)
The steps below will show you how to add a page break to your existing Excel 2013 document. This will force Excel to push cells after the page break to the next printed page. Note that you can remove a page break by clicking on the row under the page break, then selecting the Remove Page Break option from the menu that we will point out below in step 4.
Step 1: Open your spreadsheet in Excel 2013.
Step 2: Click the row number on the left side of the screen where you want to insert the page break.
Note that the page break will be inserted above the row number that you select.
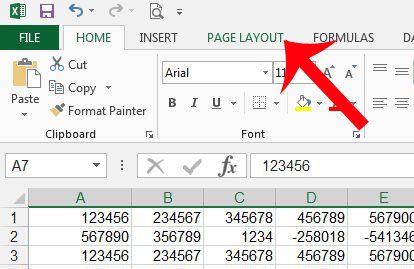
Step 3: Click the Page Layout tab at the top of the window.
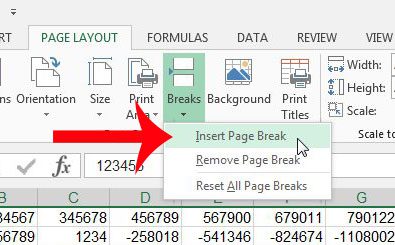
Step 4: Click the Breaks button in the Page Setup section of the navigational ribbon, then click the Insert Page Break option.
Note that the Remove Page Break option is also on this menu. You can see a very faint line on the spreadsheet where the page break has been inserted. The page break is identified in the image below. It is very faint, but it is noticeable if you are looking for it. Now that you know how to add a page break in Microsoft Excel you will be able to take control over the way that your larger spreadsheets look when you print them on paper. There are other ways to modify the way a spreadsheet prints as well. For example, fitting all of your columns on one page can fix a common issue where separate pages are printing with just one or two columns.
Additional Sources
After receiving his Bachelor’s and Master’s degrees in Computer Science he spent several years working in IT management for small businesses. However, he now works full time writing content online and creating websites. His main writing topics include iPhones, Microsoft Office, Google Apps, Android, and Photoshop, but he has also written about many other tech topics as well. Read his full bio here.
You may opt out at any time. Read our Privacy Policy