Prepare Your Data
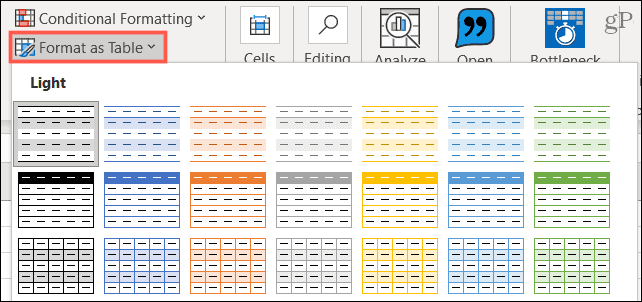
Microsoft recommends formatting your geographic data in a table. If it’s not, you can select the data, click Format as Table on the Home tab, and choose a style.
Other data suggestions from Microsoft for the 3D Map feature include:
A table where each row is a unique record.Text as column or row headers instead of data.At least one geographic property per row of data, such as city, state, region, country, or zip code.For viewing data over time, be sure to include at least one date or time field per row of data.
Create a Basic 3D Map in Excel
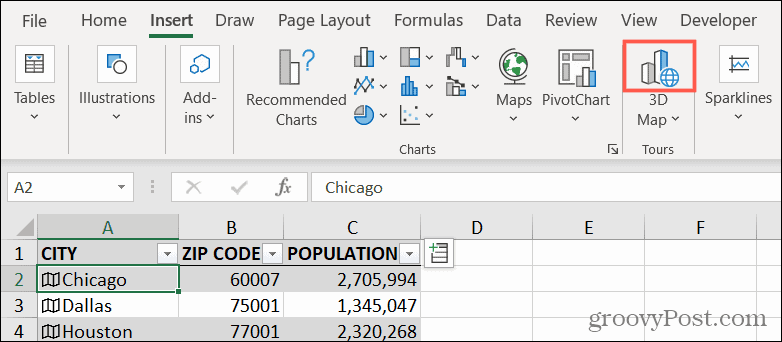
With your data ready to go, select a cell within the table. Then head to the Insert tab and click 3D Map.
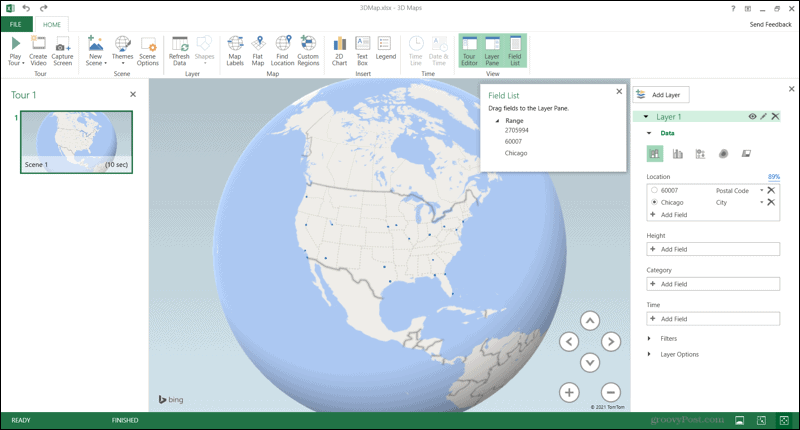
The first time you use the feature, 3D Maps will open automatically. After that, you’ll have the option to select a tour you’ve already created to edit or view it. Or you can create a new tour.
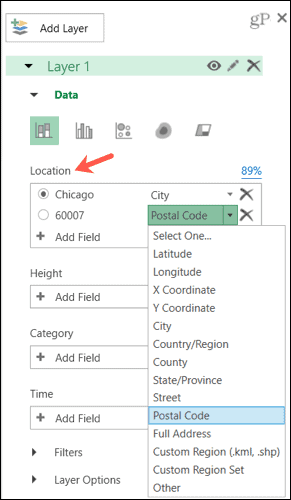
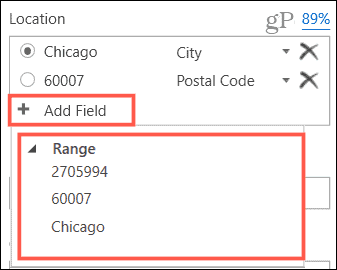
On the right side, you have a Layer Pane. This is the area you use to control and configure the data on the map. Your first step is to confirm the data you see in the Location section. For example, if you have a city name, make sure City is selected as the field type. If something appears incorrectly, click the arrow and select the right type in the drop-down list.
If you have more data in your table that you want to display on the map, click Add Field. Expand Range if necessary and select the data to add.
Locations on The 3D Globe
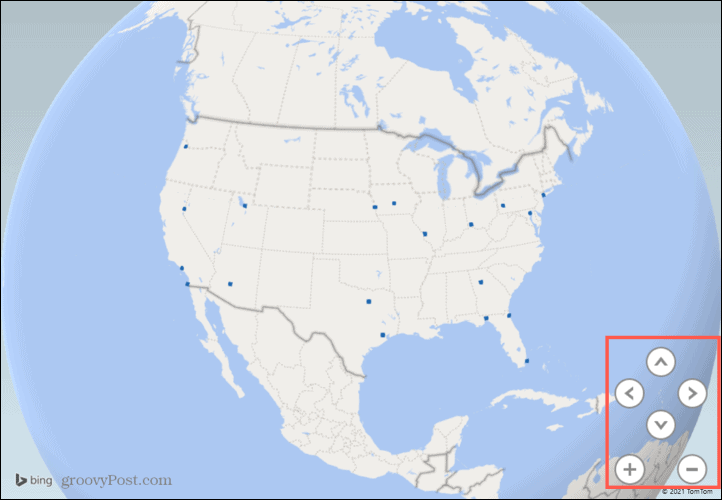
You should see the locations listed in your table appear as dots on the 3D globe in the center. Use the controls on the bottom right to move the globe back and forth or turn right and left. Use the plus and minus buttons to zoom in and out. You can also click and drag the globe to spin it or double-click to zoom.
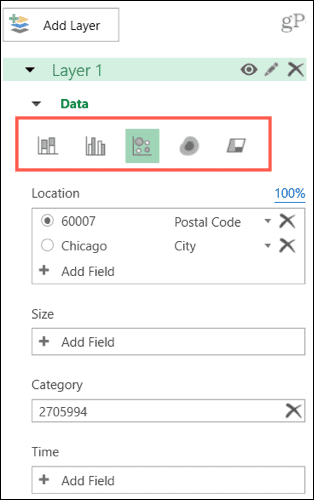
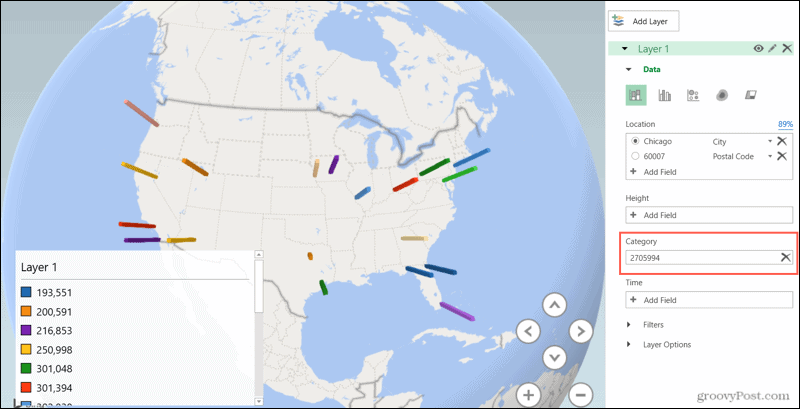
If you’d like to change the visualization, you can do this with the options below Data in the Layer Pane. Pick from Stacked Column, Clustered Column, Bubble, Heat Map, or Region. Depending on the data you’re displaying, you may want to try each one for the best visual.
You can also add details for Height, Category, or Time by clicking Add Field in the Layer Pane. As an example, we have population data in our Excel table. So, we picked that detail for Category. Our 3D map is updated to display this data. If you add a field, you want to remove, simply click the X to the right.
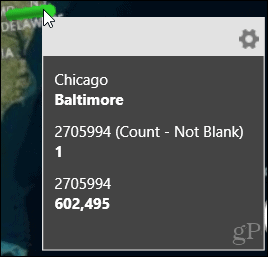
Move your cursor over a marker on the map to view its details. You can click the gear icon in the pop-up window to customize the data for the card.
Customize Your 3D Map in Excel
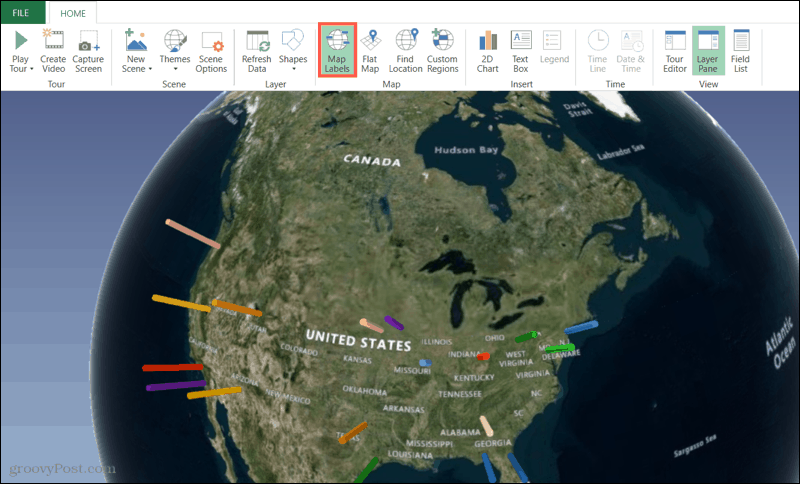
You can customize your 3D map with options like changing the theme, adding labels, or inserting a text box. Use the tools in the ribbon on the Home tab within 3D Maps. Select Themes and choose from nine views for the globe, like high contrast, gray, or aerial.
Click Map Labels to add labels for locations like countries, regions, and waters.
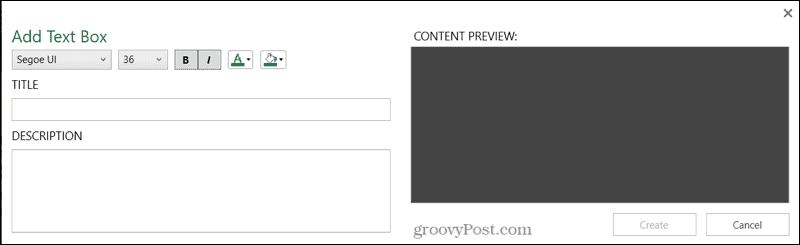
Hit the Text Box button to insert your own text with or without a description onto the map screen.
Miscellaneous Features
As you explore the 3D Map feature in Excel for the first time, you’ll find additional features which can be helpful. Use the Flat Map button in the ribbon to transform your 3D globe into a flat visual.
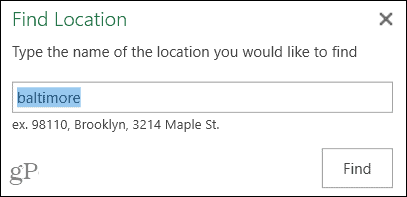
Click Find Location to search for a particular spot on the map.
Other tools are useful if you plan to expand your 3D map into a true video experience. Use the New Scenes option to create different scenes for the virtual tour, the Create Video tool to do exactly that, and Scene Options to add transition effects. You’ll find all of these tools in the ribbon on the Home tab.
A Basic 3D Map in Microsoft Excel
Now that you have the details you need to create your first basic 3D map in Excel, it’s time to get to work! Let us know what you think of the feature and if you’d like more tutorials on its specifics! For other ways to use Excel, check out how to use Quick Analysis to visualize data. Comment Name * Email *
Δ Save my name and email and send me emails as new comments are made to this post.


![]()
