Fortunately there is a way to send a folder in Outlook 2013 by taking advantage of the zip capabilities of your computer. Windows can create a compressed, or zipped, version of a folder, which turns it into a single file. That file can then be attached to your email, and your recipient can unzip the file when they receive it to have the files on their own computer, with the same folder structure that they have on your computer.
How to Attach an Entire Folder to an Email in Outlook 2013
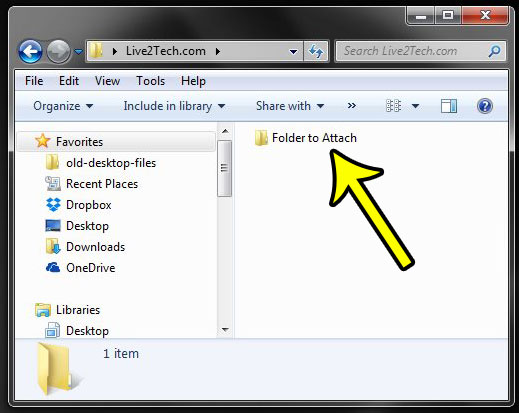
The steps below are going to show you how to create a zip file from a folder on your computer, then attach that folder to an email that you send from Outlook 2013. Note that the size of your file could be an issue if there are limitations on the size of files that you can send via email, or that your recipient can receive. This is very common, and many email providers will not allow files over 25 MB to be sent as an attachment. In that case, you are probably better off uploading the files to a cloud sharing service like Dropbox and sharing them that way. Step 1: Locate the folder that you wish to send in Outlook.
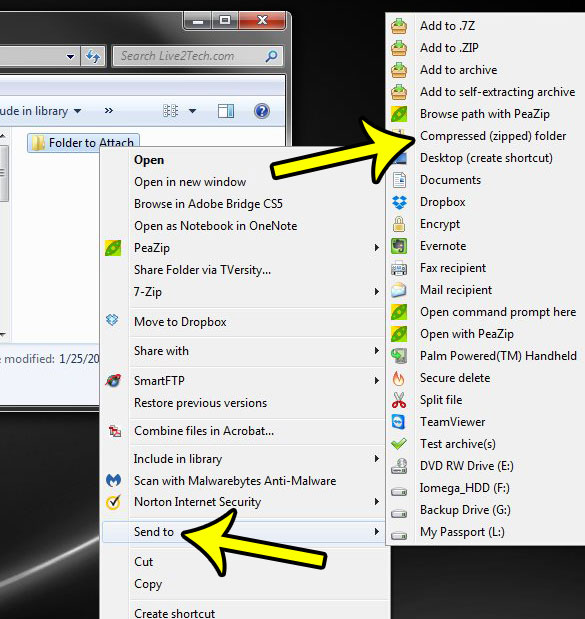
Step 2: Right-click the folder, click Send to, then click Compressed (zipped) folder.
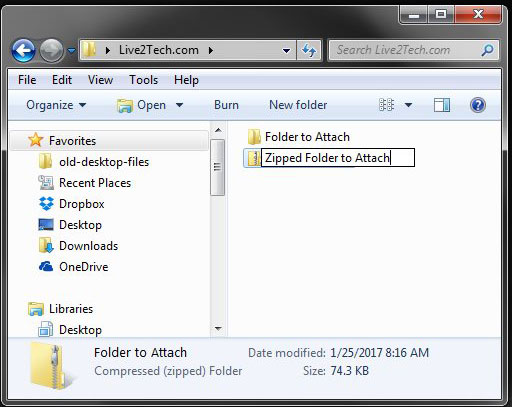
Step 3: Keep or change the name of the zip file as needed, then press Enter on your keyboard.
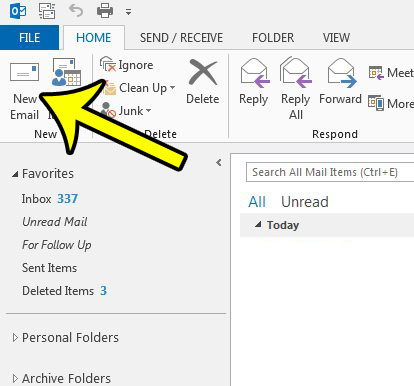
Step 4: Open Outlook 2013, then click New Email at the top-left of the window.
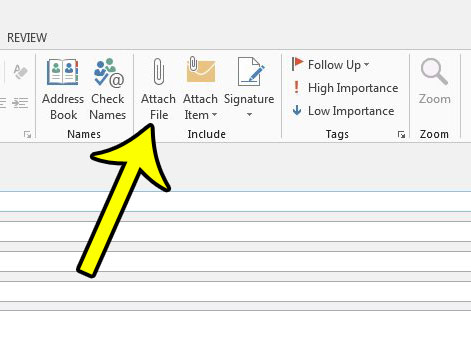
Step 5: Click the Attach File button in the Include section of the ribbon.
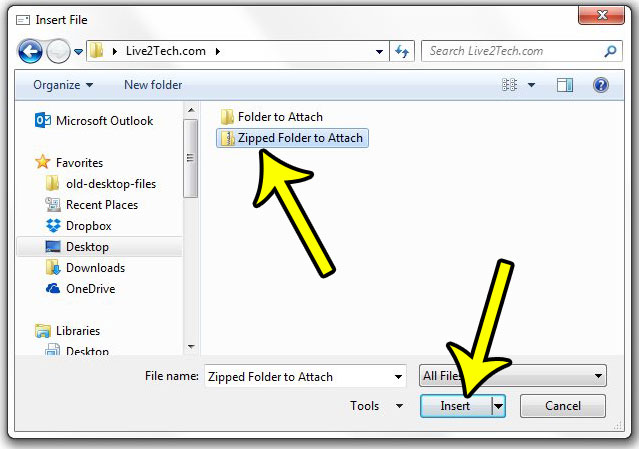
Step 6: Browse to the zip file that you created earlier, select it, then click the Include button.
Step 7: Complete the rest of the information for the email, then click the Send button. Do you need to check for new messages more often that you are currently? learn how to change the send and receive settings in Outlook 2013 to have the program connect to your email server more often. He specializes in writing content about iPhones, Android devices, Microsoft Office, and many other popular applications and devices. Read his full bio here.
