One way to fix this problem is to use a setting called Shrink to Fit. This will cause Excel to automatically adjust the size of the font in a cell so that all of the data in that cell can be seen. You can follow the steps below to apply the Shrink to Fit setting in an Excel 2013 cell.
How to Use the Shrink to Fit Option for a Cell in Excel 2013
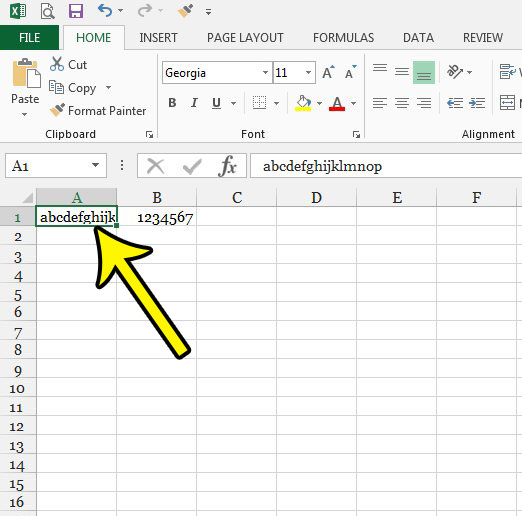
The steps below are going to apply a formatting option to a cell of your choosing in an Excel 2013 spreadsheet. Once you complete these steps, then content that you enter into a cell will shrink in size so that all of that content remains visible. Note that this can result in extremely small text. Step 1: Open your spreadsheet in Excel 2013. Step 2: Select the cell to which you would like to apply the Shrink to Fit formatting.
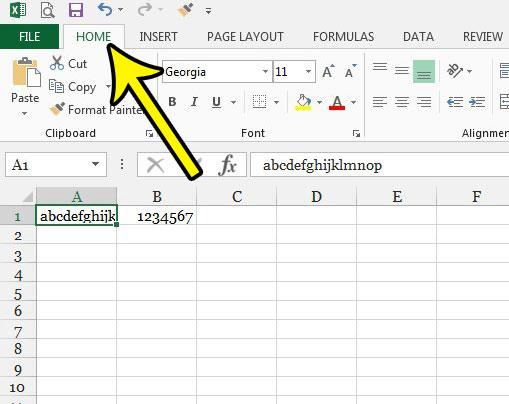
Step 3: Click the Home tab at the top of the window.
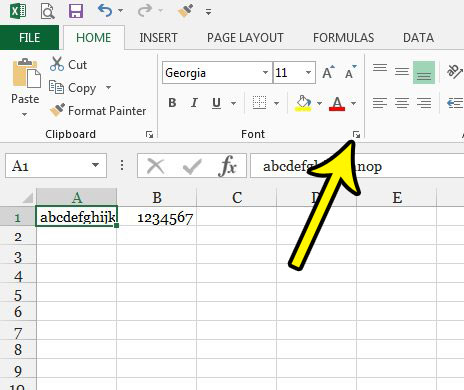
Step 4: Click the small Font Settings button at the bottom-right corner of the Font section of the ribbon.
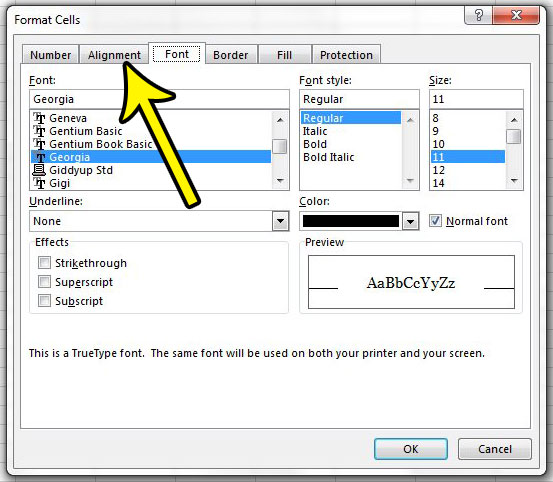
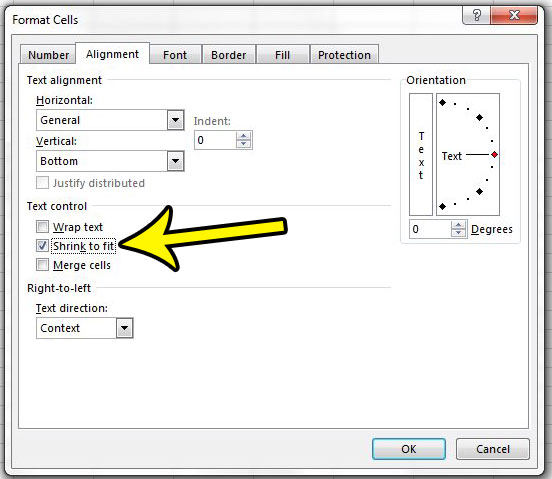
Step 5: Click the Alignment tab.
Step 6: Select the Shrink to Fit option, then click the OK button.
Is your spreadsheet not printing the way that you would like? Learn about some Excel printing tips that can relieve some of the frustration that is typically associated with printing in Excel. He specializes in writing content about iPhones, Android devices, Microsoft Office, and many other popular applications and devices. Read his full bio here.