Occasionally those rows might be too short or too high, which can leave you looking for a way to modify their height in Excel 2013. Fortunately, this is something that you can accomplish by following just a few quick steps.
How to Change Cell Height in Excel 2013
Our guide continues below with additional information on how to adjust cell height in Excel 2013, including pictures of these steps. An Excel spreadsheet, by default, consists of rows and columns that contain equally sized cells. But as you begin entering data into those cells, you will discover that your data does not always fit within the default size constraints of those cells. In order to make the data visible, you will need to adjust your cell sizes. Our article below will show you how to modify the height of your rows, which will change the height of all of the cells contained within those rows. Individual cell heights within a row cannot be modified, unless you elect to merge a cell with other cells around it. This can be problematic for many spreadsheet layouts, however, so proceed with caution if you elect to take that route. You can learn more about merging cells here. If you have a lot of rows that don’t fit their data, then you should check out our guide on how to expand all rows in Excel so that you can easily adjust many rows at once.
Setting the Cell and Row Height in Excel 2013 (Guide with Pictures)
The steps below are specifically written for Excel 2013, but are similar in many earlier versions of Excel as well. Excel spreadsheets consist of horizontal rows and vertical columns. Heights of individual cells cannot be adjusted; you need to change the height of the entire row if you want to adjust the height of a cell within that row.
Step 1: Open your spreadsheet in Microsoft Excel 2013.
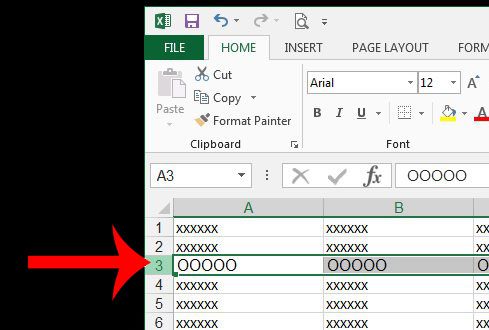
Step 2: Locate the row containing the cell that you want to adjust, then click that row number at the left side of the window.
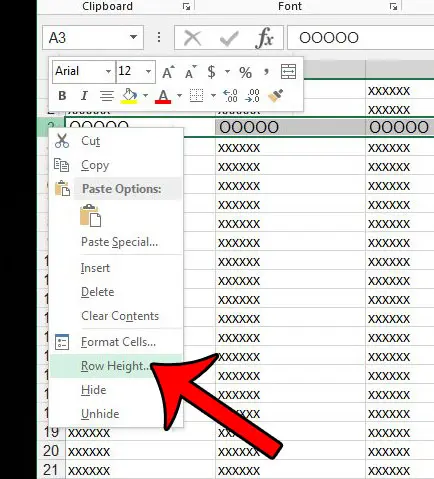
Step 3: Right-click the selected row number, then click the Row Height option.
Step 4: Type the desired row height into the field, then click the OK button.
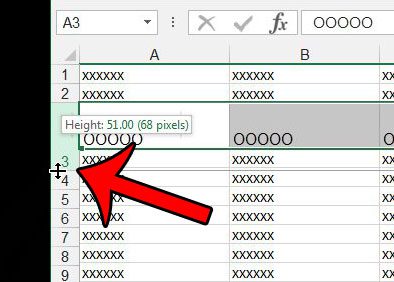
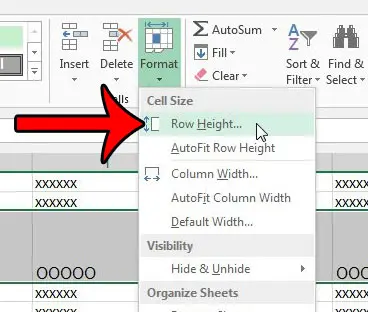
Excel row heights are measured in point size, so it may take a few tries of adjusting the row height before you find the correct one. Now that you know how to change the cell height in Excel 2013 you will be able to fix many of the sizing issues that you encounter as you add a nd format the data in your spreadsheets. Note that you can also adjust the height of a row by clicking on the bottom border of the row number and dragging it up or down. You can also change the height of a selected row by clicking the Home tab at the top of the window, clicking the Format button in the Cells section of the ribbon, then selecting the Row Height option. Are there a number of rows in your spreadsheet that are the incorrect size, and you want a way to automatically resize them to fit the data contained within the cells? Learn how to automatically resize rows and save yourself some time.
Additional Sources
After receiving his Bachelor’s and Master’s degrees in Computer Science he spent several years working in IT management for small businesses. However, he now works full time writing content online and creating websites. His main writing topics include iPhones, Microsoft Office, Google Apps, Android, and Photoshop, but he has also written about many other tech topics as well. Read his full bio here.
You may opt out at any time. Read our Privacy Policy